So I have spent the past couple of days trying to figure out how to make my ink drawer more organized and I finally found it!!! Make a box for each ink.... So I did...

showing the score and cut lines. I will add dimensions at the bottom!


Before I organized.

Without mini ink pads. That storage system is still in the works as I have more than will fit into my box.

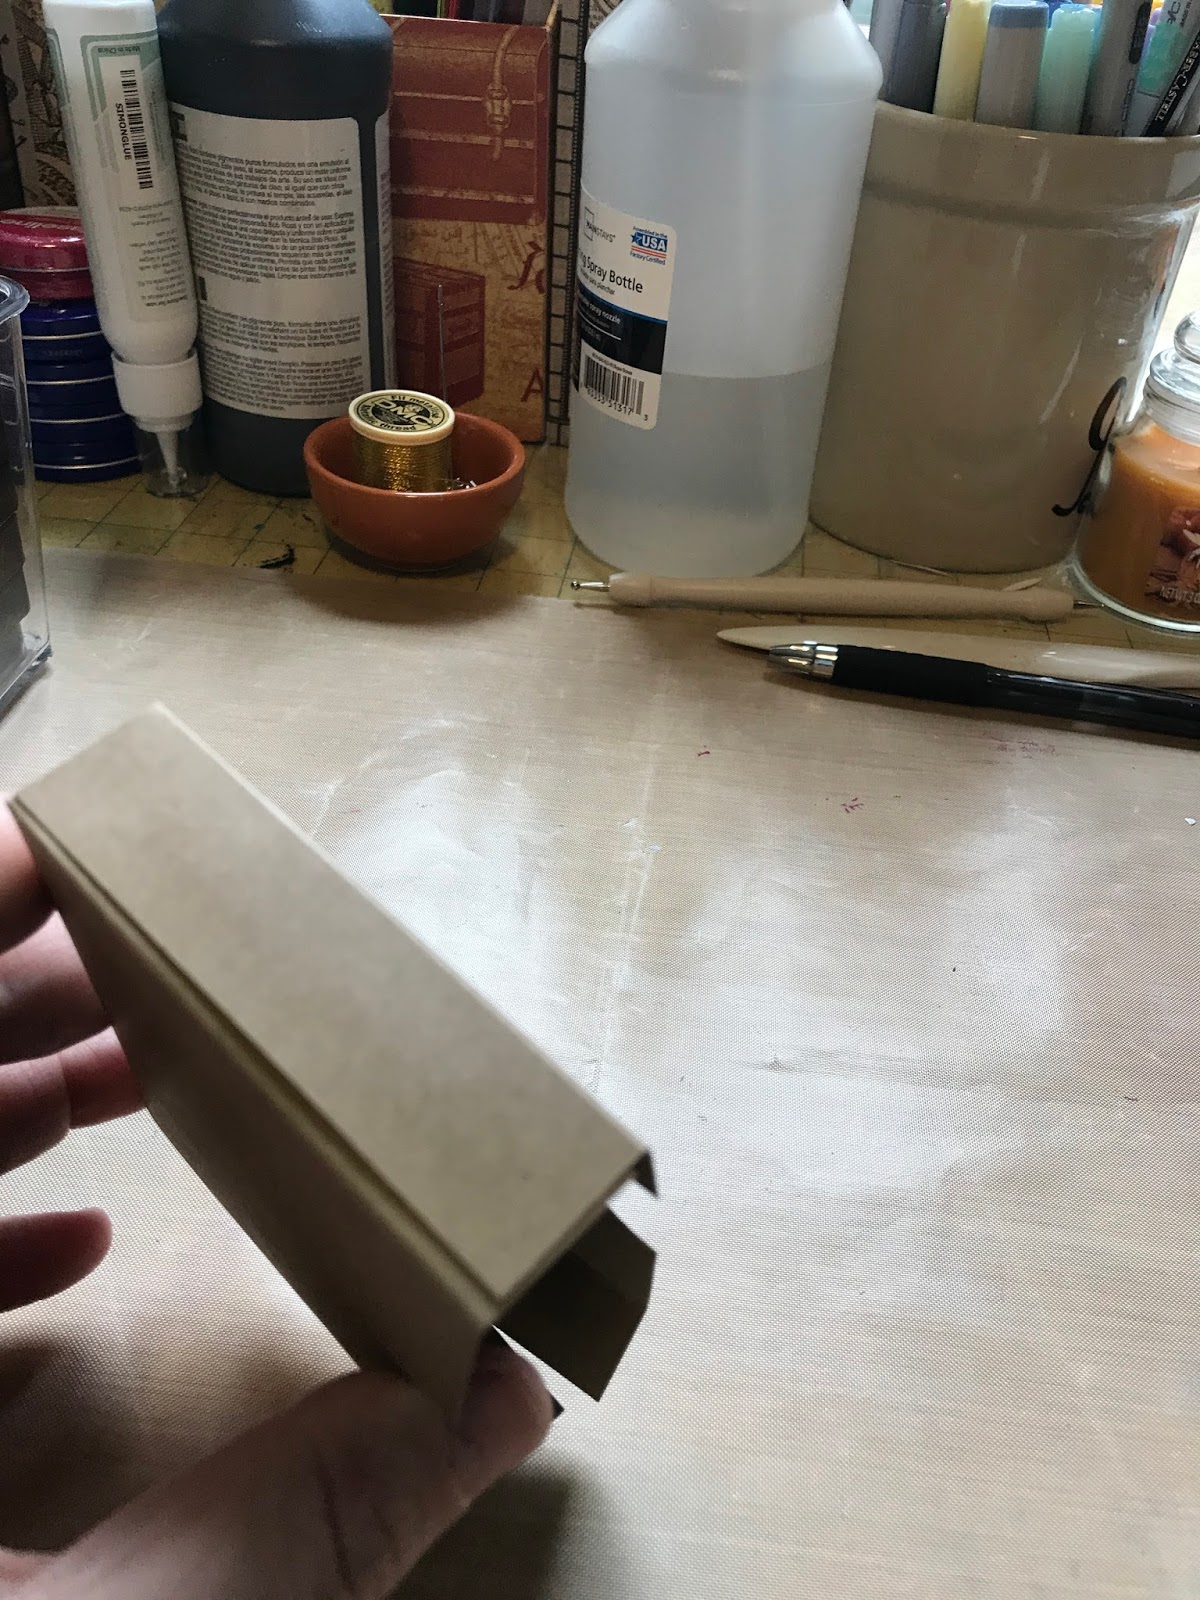
This and the following pictures are the steps I did to make each box. They are pretty straight forward but please let me know in the comments if you have any questions.


This is where you have to fit your boxes into your drawer or whatever you are using to see how many fit in a row. Luckily all of my large distress inks fit in one row as I have started getting the mini inks. Distress Oxides are another animal all together as they cannot be stored on their sides.


Look at my almost all the way organized drawer!!! Now it looks like I need to get more inks to fill it up! Oh the things we go through as crafters!!!

And there it is!!!!
Deminsions for the boxes:
Distress Inks
Cardstock cut to 63/4 by 4 1/2
Score long side at 3 and 3 3/4
Score short side at 3/4 and 3 3/4
cut and miter the small square up to the score line on long side
SSS Ink pads
Cardstock cut to 8 3/4 x 4 1/4
score long side at 4 and 4 3/4
score short side at 3/4 and 3 1/2
cut and miter the small square as shown in the first two pictures.
Thanks guys! C-Ya
No comments:
Post a Comment