Showing posts with label altered items. Show all posts

Friday, May 24, 2013

Journal remake with Bombshell stamps


Hello Lovelies, today I have a tutorial for you.  I love journals as do a lot of people, especially my daughters friends.  I  found ourselves in need of one such journal last month and decided to make one.  Here is how I did it!


Supplies Needed:
105
Molding supplies of choice, I used Amazing Mold Putty
Clay of choice, I used paper clay
Item to alter, I used a journal from the dollar store
Decorative paper napkin
Paint colors of choice, I used Golden Brand Quinacridone Magenta, and Cobalt Turquoise
Rub –n-buff, antique gold
Fluid Matte Medium
Gesso
Stamp set of choice, I used Butterfly Dreams

Step 1: Following the directions on your molding compound make molds of your stamps.
106107

Step 2:While your molds are setting up, Gesso the cover of your item, if your item is one light color you can skip this step.
108109

Step 3:  Once your molds are done use clay of choice to make your pendants.* 
112113

Step 4:  Separate your napkin, make sure to keep your non decorative layers for next months tutorial.  My napkin had 2 non decorative layers, yours may have only one… Using the matte medium adhere the napkin to the outside of your item, journal for me. 
110
Step 5:  Once your clay pendants are dry paint them.  When your paint is dry apply the rub-n-buff to bring out the details.
130131132
Step 6:  Adhere your pained pendants to your item, add a pen and you have a pretty little gift all ready to go.  (do not be like me and lose the pen that came with your journal if it has one)

* I found it helpful to make several pendants at one time so that I had some on hand for future unexpected gifts.  Which  I used recently for another gift… Also keep in mind the drying time of your clay, it takes paper clay 3 days to dry completely!*

Thursday, December 20, 2012

Domino Elf...

Hello Lovelies, today is my last day to post a domino for the 24 days of christmas on domino Art!!!  that kind of makes me sad but I know it's not my last altered domino.!!!  This one I went wild on!!! LOL  I used  the same wooden domino but added a triomino a paper clay face some of the same beads, a felt hat and a snowflake charm!!!  Let me know what you think!!!


Thursday, December 13, 2012

12 Days day 7

Hello Lovelies, today is another Domino day!!!  This is another wooden domino from the circus set with the same beads and colors as the other domino... can you guess what colors I decorated with this year... LMAO!!!  anyway this is another Dilly Beans image the dunce cap skellies and colored with my sakura gelly pens.  diamond stickles and some white paint on the background....  

 
Remember to leave me love and to visit the rest of the bloggers and leave them love as well for your chance to win that $100 shopping spree....

Tuesday, December 4, 2012

Special post for Domino lovers!!!

This year Leigh The Sharpie domino Queen is having her very first 24 days of Christmas!   In this she has asked for players to make domino art to share on her blog in the Christmas/winter theme of course... I was so happy to see this that I signed up for 3 days!!! 

I found some wooden dominos at goodwill with a circus theme to them and thought those would be awesome to alter as they are slightly larger than a regular domino. So here is the first of my 3 days. I used an image from Dilly beans made smaller of course, jewel tone beads some diamond stickles and sakura gelly pens and sakura glaze pens.  I used a image transfer technique to get the trees into the background then popped the snowman up in front of them.  These loveley little game pieces are sitting on my tree right now!!! 

Monday, December 3, 2012

Day 2 of 12

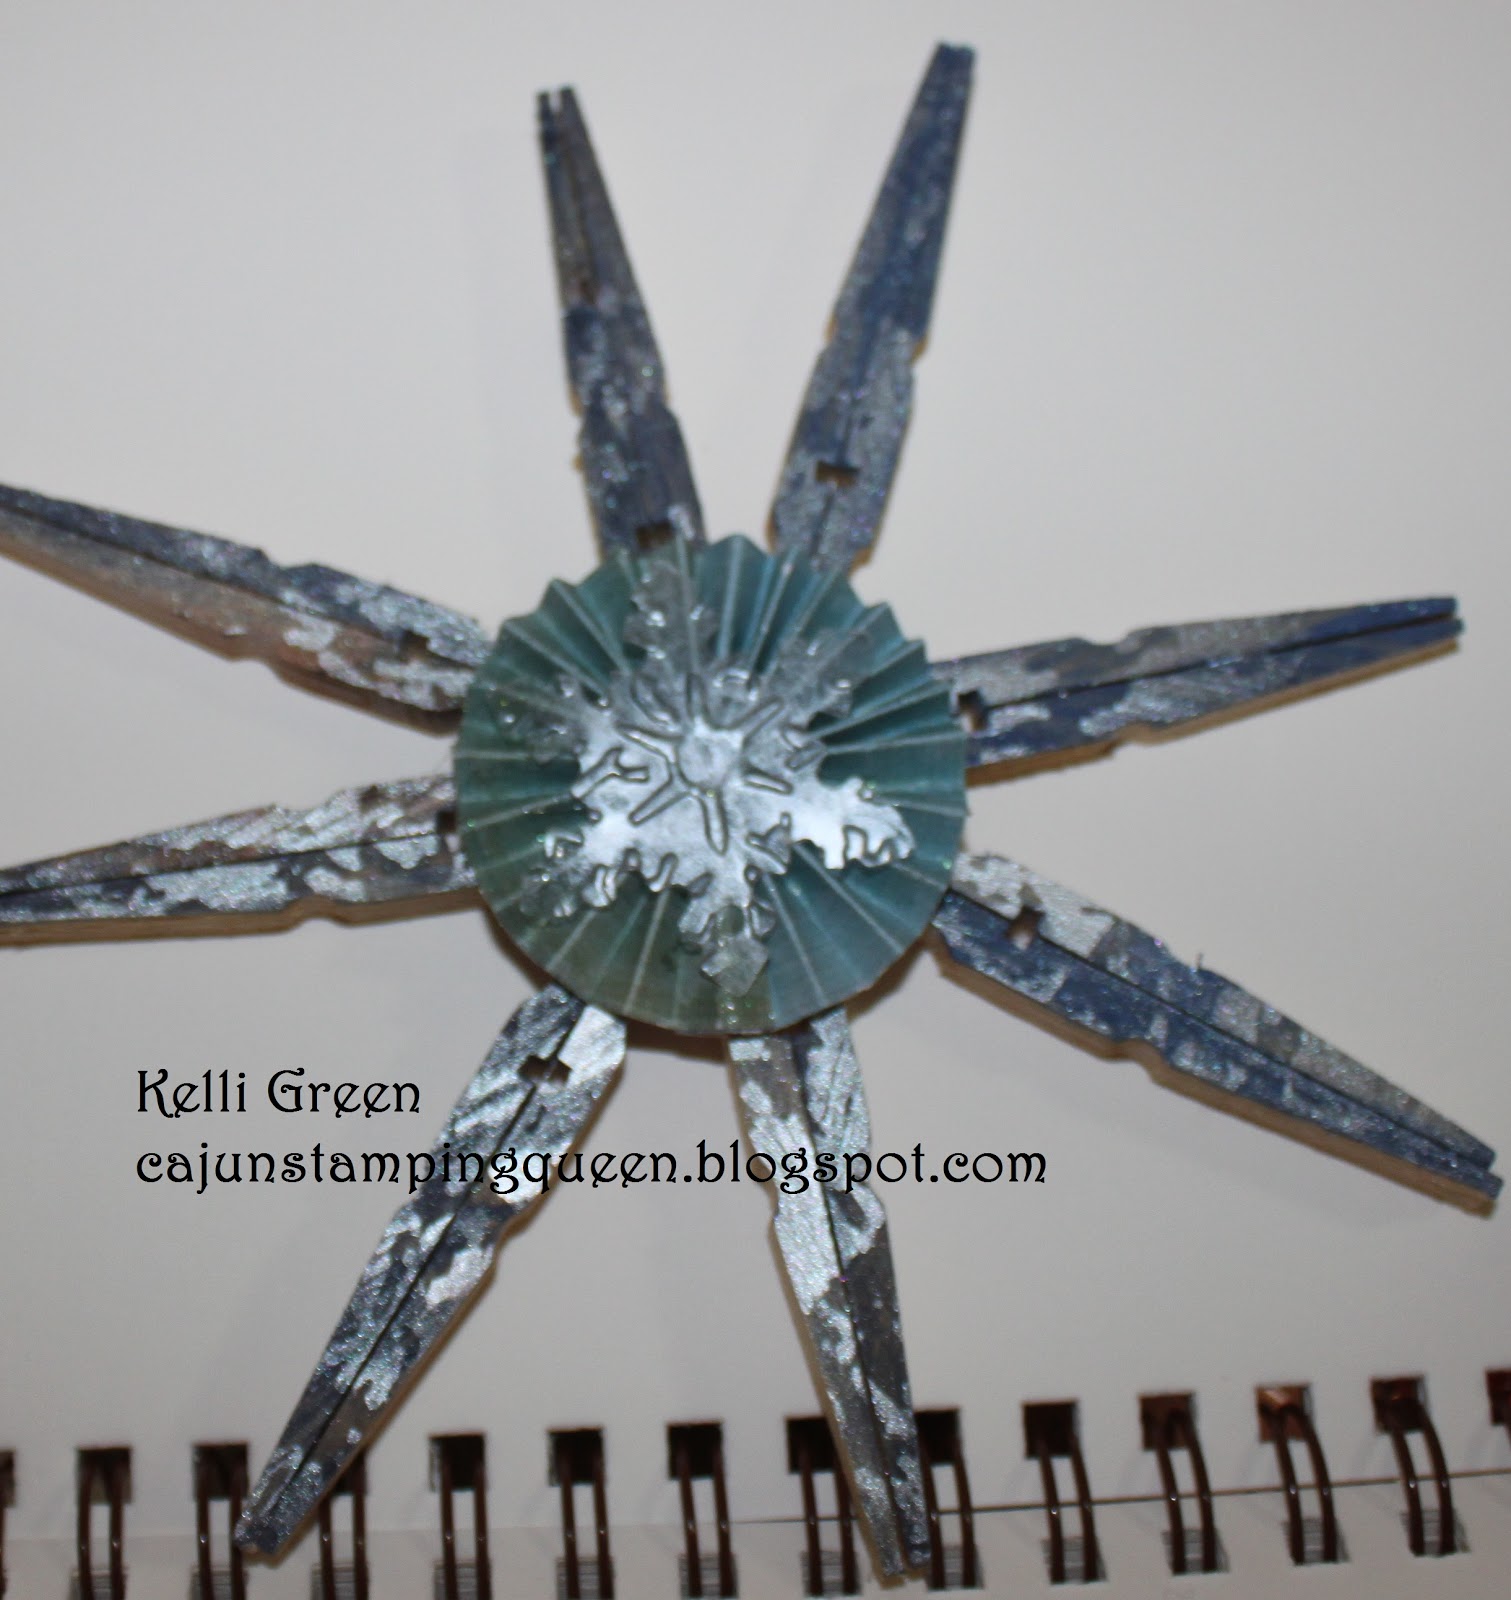
Hello Lovelies, today I have for you another something I saw on Pintrest!!  You all know how I love that place!  Anyway it went perfectly with my love of snowflakes/men!!! So of course I headed to the $ store to pick up some supplies to make these and am in love!!!  UMMMM just so you know you can make 4 out of one pack so that makes them 25 cents each!!! 

What you need are clothes pins and hot glue... The rest is up to you... on this one I used some chipped sapphire distress stain on the snowflake.  Then I stamped my image on the wood with versamark and used my perfect pearls to make it shimmer, cause how can you have a snowflake without shimmer????  YOU CAN'T!! I made a paper rosette and then someone sent me a little envelope of goodies last year during a swap I was participating in and this lovely little snowflake was in there so I wanted to use it as well!!! 


This is the stamp I used on it... it's from Smeared Ink one of their Inky dreams images I believe.
 
I am entering this into the Smudgy Antics challenge this week!
 
Remember to leave me some love and to visit the other bloggers and leave them love for your chance to win that $100 shopping spree!!! The Blog Roll is on the side bar and will remain there until the end of the month!!! Please look there for the next blog!!!

Tuesday, November 27, 2012

Ink Stains Altered Altoid Tin Blog Hop/Art Festival


 Hello Lovelies, today I am super excited to show you this Altered Altoid Tin I have been working on for a while.  A few months ago my friend Roni Johnson sent out an email asking for people who would like to participate in her Blog-a-versary/Birthday!  She love to alter things so she asked that we alter an Altoid tin and link it up to her blog for this Wonderful 5 year celebration she has going on!!!  So I love to alter things as well and of course I wanted to participate as I think Roni is a wonderful artist!  
 
Now I do know that Roni is going to have a little something to give away and although I don't know exactly what it is I know that it is going to be wonderful!!!!  This hop is going to be amazing just to see the diversity in the things people can do with Altoid tins!!
 
Now you all know me and my love for Halloween but coming in a very close almost tied 2nd is Christmas and on top of that is SNOWMEN!!!!  I love me some cute little snowmen!!!  So I wanted to make a winter scene with my altoid tin not to mention I received this wonderful little picket fence from AlteredPages.com that I had to use!!!!  So quite honestly this whole little altered tin came about because of a blog birthday and some tiny littly picket fence emphemera!!!  Who knew!  I hope you enjoy my little tin and leave me some love because you never know where the winner will come from and head over to InkStainswithRoni to see the rest and see what awesome prizes are available!!!


Sunday, October 14, 2012

Day 14 of 31

Hello Lovelies, today I have for you an Altered Domino Pendant, ok well it was supposed to be a pendant and it will be as soon as my backorder gets here...I have some charms and some cording on backorder, why not go get some you say, well because I already paid and don't want to pay twice!!!  Anyway I used some beads I already had and when my charms get here I will add them as well!

The image is a little studio G one I got from the $ spot at michales!  I stamped it onto tissue paper then used floor varnish to adhere it.  I colored the domino with alcohol inks and my wonderful hubby drilled the holes for me!!!

Remember blog roll on side bar and to leave some love!!!

Tuesday, October 2, 2012

Day 2 of 31

Hello Lovelies,  this year on S&S ning group there was a swap for Halloween decorations.  Hand made of course and so I wanted to share with you what I made for one of my swappers... I have 3!!  The first one I want to share came when I was looking on Pinterest, big surprise, anyway I thought this was one of the cutest things I had seen and that it would make a wonderful candy box, which it did!  I used letter stamps from the build a zombie set from SI.  


Remember the blog roll is on the sidebar and to leave all the bloggers love for your chance to win the wonderful prizes!!!

Monday, October 1, 2012

Day 1 of 31

Hello Lovelies, welcome to the 4th year of 31 Days of Halloween!  I am super excited for this year because with the exception of 4 day, which are challenge days, I have all of my projects done!!!  I will keep my posts throughout the month short, one because that’s what I do when necessary and two cause we gotz 37 peeps to get through everyday!!!!  That is a lot and it makes me excited to have that many this year…. The first year it was just Terra and myself posting a project each day!!!  It sure has grown a lot!  As always the blog roll is on the right hand side bar!!!  
Today I am starting with a Domino Book using images from Itkupilli that I purchased a few years ago!  I used a ink splatter stamp from Smeared Ink in the background paper that I mounted the images on! 

008 009 010 011
Remember to leave everyone on the blog roll love everyday for your chance to win the wonderful prizes!!!  To see those prizes please click here!

Saturday, August 25, 2012

Saving the world one Bracelet at a time…..


Hello Lovelies, today I have for you a little tutorial on how to make a bracelet using a plastic water bottle!! 

004 005 006 007 008 009 010 011 012 Altered Pages Bracelete 002 Altered Pages Bracelete 005
See it’s good to keep the water bottles!!!  I hope you enjoy and I am sorry I don’t have picture of this on my arm but my daughter promptly took it, put it on, and then left for the movies!!! 

Tuesday, March 6, 2012

Alter It

Hey Hey everyone!  We are back and know what were doing now!!! LOL  The Beyond the Burtonesque Dolls challenge blog is up and going!  We are now a bi-weekly challenge and our first one is today!  Those who enter will be put into an random drawing to be our GDT next month!  Awesome!!! 

This weeks challenge is to Alter it.  What is it?  What ever you want it to be!!!  Just alter something!!! 

My daughters best friend has a birthday coming up and I wanted to make her something.  My daughter is totally into smash books and art journaling so we thought it would be a good idea to make her friend her very own smash book/art journal.  Her friend is  very artistic on her own so we didn’t want to fill every page for her we wanted to let her do it on her own.  I made a cover and decorated the back adding a few things here and there in the book. 
IMG_1695
here is the front of the book before I altered it!

IMG_1697
this is the front cover after I altered it…

IMG_1698
here are the first couple of pages done for her… just to give her something to have right away!

IMG_1700
here’s the back cover….

Then I thought well now wait, smash books/ junk journals/art journals are full of stuff so I decided to go through my stash and gather some things for her to work with…
IMG_1707

I added some envelopes and pockets to several different pages for her to stash stuff in…
IMG_1701IMG_1702
IMG_1704IMG_1705

I may add more things to it before we give it to her but for right now I am gathering stash stuff for her to use.  I am thinking she will enjoy it!

Head on over to the Beyond the Burtonesque Dolls blog and check out everything everyone else has made and see all the dirty details of the challenge!!!